Lisa Staff has handled Interior Photography for homes valued up to $50 million. Here’s her take on how to morph your home or office’s photos from OK to amazing!
We’re super pumped to be a part of a fantastic community of creatives and a clientele base of industry professionals who’re unarguably the go-to in their fields. Being on the job comes bearing goodies, one of which is being privy to some of the most aesthetic sight you could ever conceive (I mean, like everrrrr… )
There’s something spectacularly soothing about good interior design (I mean, the ones that feel just right, not some amateurish plate of décor salad.) Beautiful and pleasing to the eyes, it makes me feel alive, comfy, reigns in the good feels too. And you needn’t squint to see why—our environment kinda has this way of influencing how we experience our world and glide through it.
Another fascinating twist to good interior design is how no matter how hard to curate (especially given the sinking amount of detail,) you can always tell if it’s a straight-up stunna or a horrendous cock-up right from the first glance—pretty much like love at first sight! And that’s why you need only professionals (a pro interior designer and a pro photographer of course!) to bring your vision into reality.
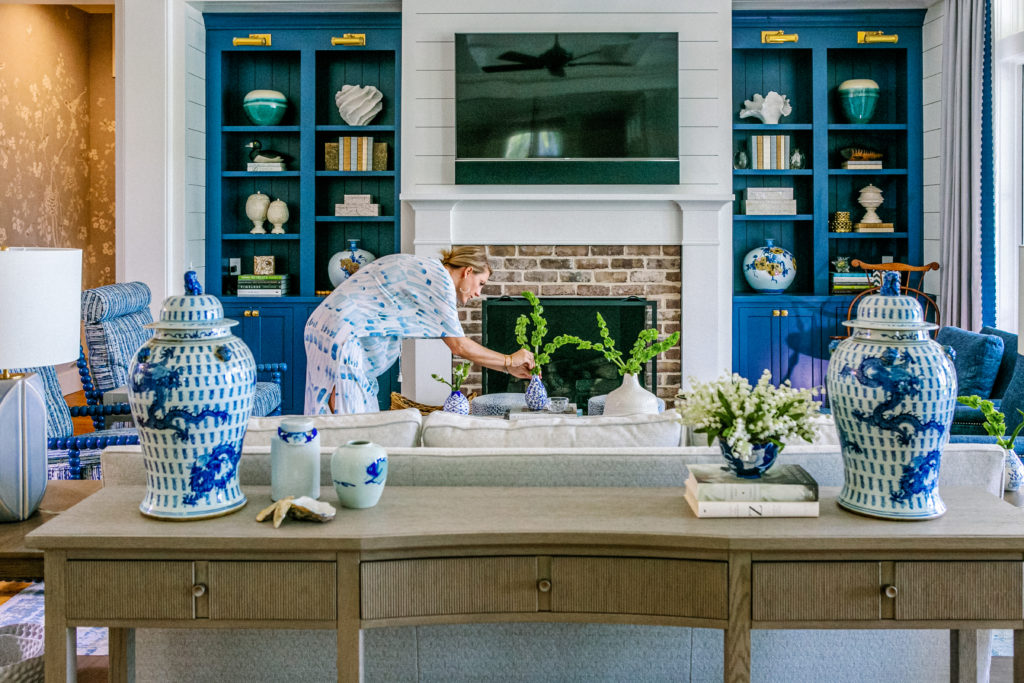
Speaking of love at first sight, Kelly Caron’s designs’re sure to leave you in a whirlpool of aesthetic bliss. Situated within the southern splendor of Bluffton in South Carolina (aren’t we lucky?!), her works capture the essence of beauty in its most therapeutic hue. I’m a sucker for her work, why else did I kinda feel like this extra weight, extra (inner) expectation? like “Lisa, get a shot of this, and this one too. Oh, and over there as well!”
I’ll be the first to admit that I’m somewhat of a staunch skeptic of sticking to rulebooks on how to do take interior photography shots. But, I’m also all for falling back on tried-and-true guidelines when in doubt (Or, so you don’t everrrr have to be in doubt).
If you’re anything like me, not knowing how to act around lovely interior design, especially with my camera in hand, locked and loaded, ready for the next press of the shutter button, (ya know, that sort of thing?) then this post will set you on track for some magazine cover-worthy, instagrammable interior photography. Happy Shooting!
Get Up Close With Your Clients.
Every so often your client already has an inkling of what purpose these photographs serve their business. Some of them, real estate agents, homeowners, Instagram influencers, and you would expect that they have certain styles in mind that’ll help them achieve their business (or personal!) outcomes.
Having a chit-chat with them to get the specs on becomes incredibly vital so you don’t end up with photos being not fit for purpose, wasted time, (and most sadly) an unhappy client. : (
Properly Stage.
In cleaning up your background, you want to thread a fine line between decluttering and having just enough items to make sure the living space looks lived in. Even the most tastefully done interior designs need some massaging of the background to eliminate lousy props and ‘visual sidenotes’ in the photo. One way you can achieve this is to properly stage your space so it looks spick and span.
Whether a figurine, waste-basket, or a crooked piece of artwork (yeap!) you’d find that cleaning up helps remove objects that would’ve otherwise snagged the attention off your focal point. There’s always the option to have those taken out in photoshop, but you want to keep things as natural as possible.
Have a Shot List.
Well-styled photography comes with some good prep work. A shot list is a checklist that helps you map out and document all that’s gonna transpire in your photoshoot. It puts some order and meaningful progression in your sessions.
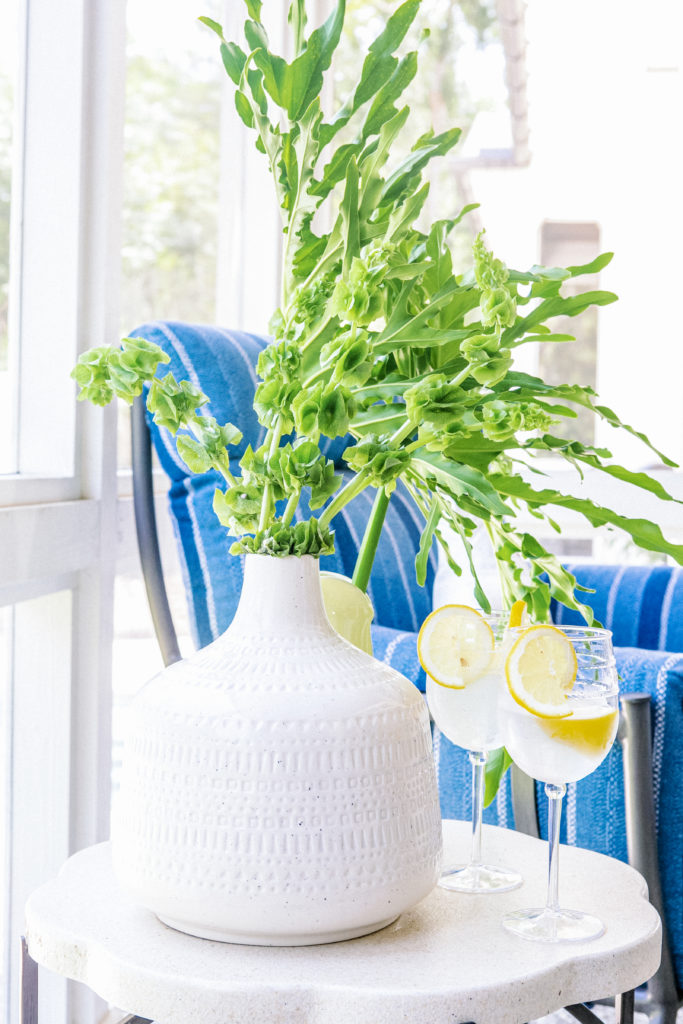
Take photos in natural light.
You can never go wrong with rolling with as much natural light as possible. A bright light beaming through the window, or, say, working with skylights on the other hand may cause issues with exposure and white balance in your camera.
You also wanna keep the window to the side. Draw the window blinds if the interior is getting too much light. Do not shoot straight into the sun. If you’re gonna use some lighting, let it be in the backdrop rather than artificial lighting. Artificial lighting adds this yellow tint that just looks off the mark for an interior decor shoot. Also, avoid taking pictures on a grey and gloomy day. If rain is in the forecast, postpone the shoot until the weather clears up and the sun comes out.
A picture of an interior taken during sunset comes alive with double the beauty, double the radiance, double everything! It’s best to use an adjustable-head flash if you’re taking pictures at night or on a gloomy day since the light bounces off the ceiling and creates a more even, diffused lighting.

Equipment — Both Hardware. (and Software.)
Of course you’ve got to start off with a good camera for clear, crisp clean photos and an accurate representation of color and lighting! (Ixnay on your iPhone cameras. Oh, and a wide-angle lens, not a fish-eye) You also don’t want a camera with lenses a tad too wide to avoid barrel distortion. A moderate lens width will be 22-24 mm. (13-14mm on a crop camera). : )
Another oft-overlooked aspect of your photography touches upon what you do after your photography. Adding finishing touches with your post-production editing software helps edit your images before passing them on to your client. This is where all the magic unfolds! Use tools like Adobe Lightroom, and Photoshop if you’re looking to unlock greater functionalities for your photo editing to propel viewers into a treat of pure imaginative bliss!
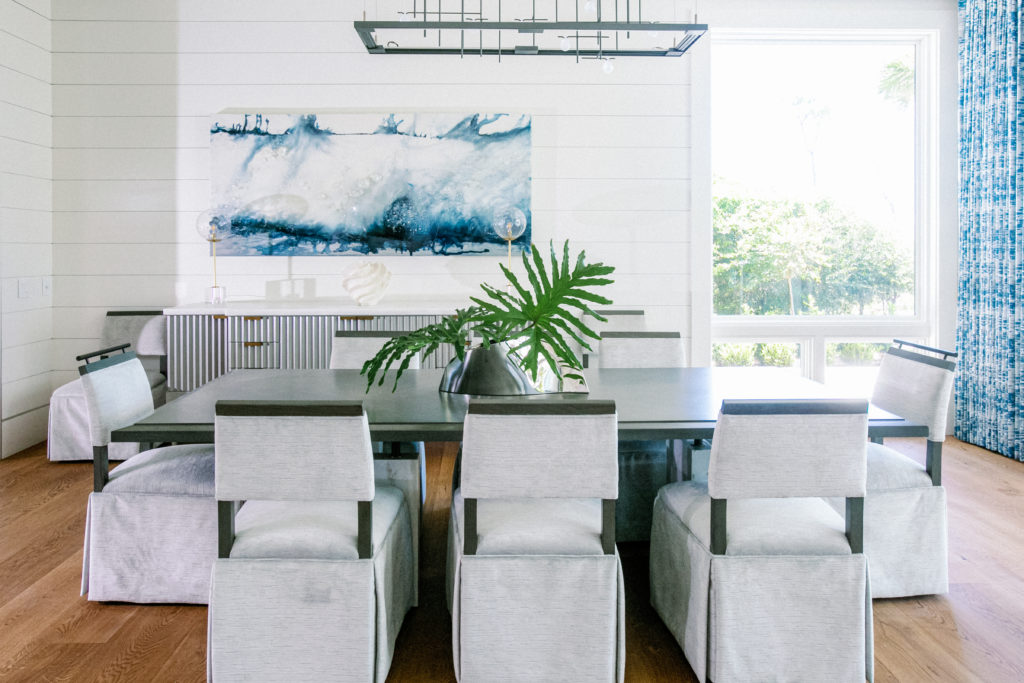
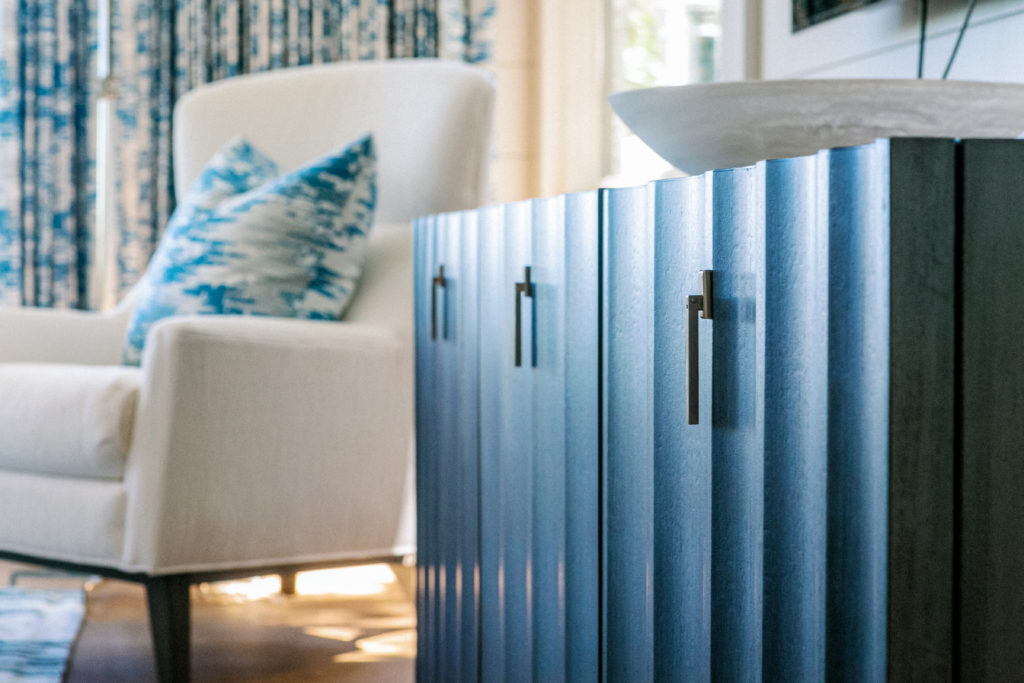
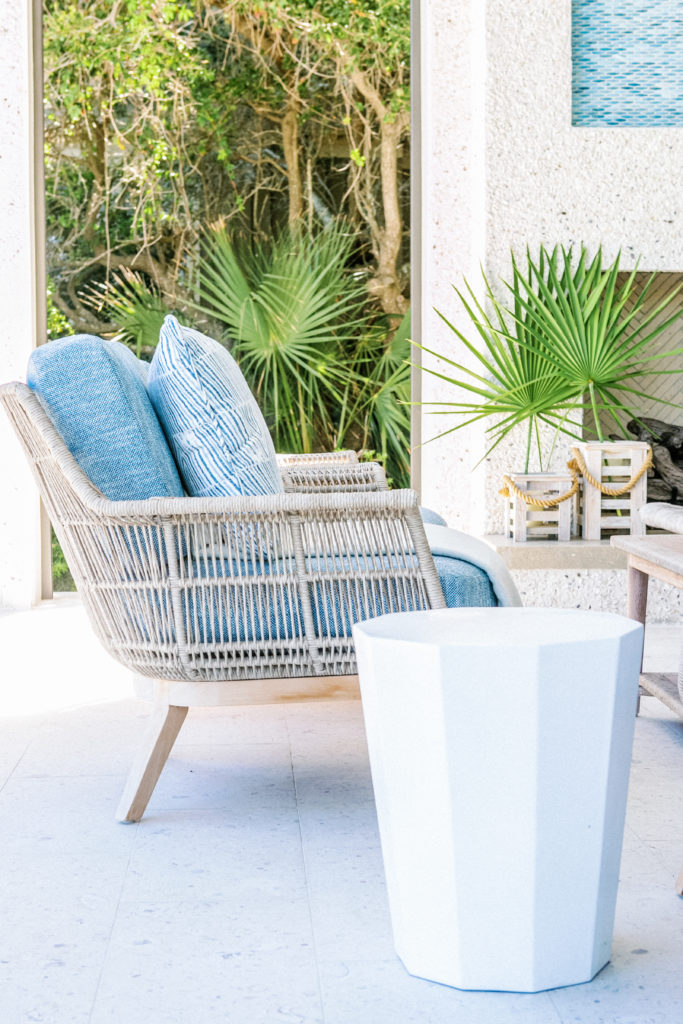
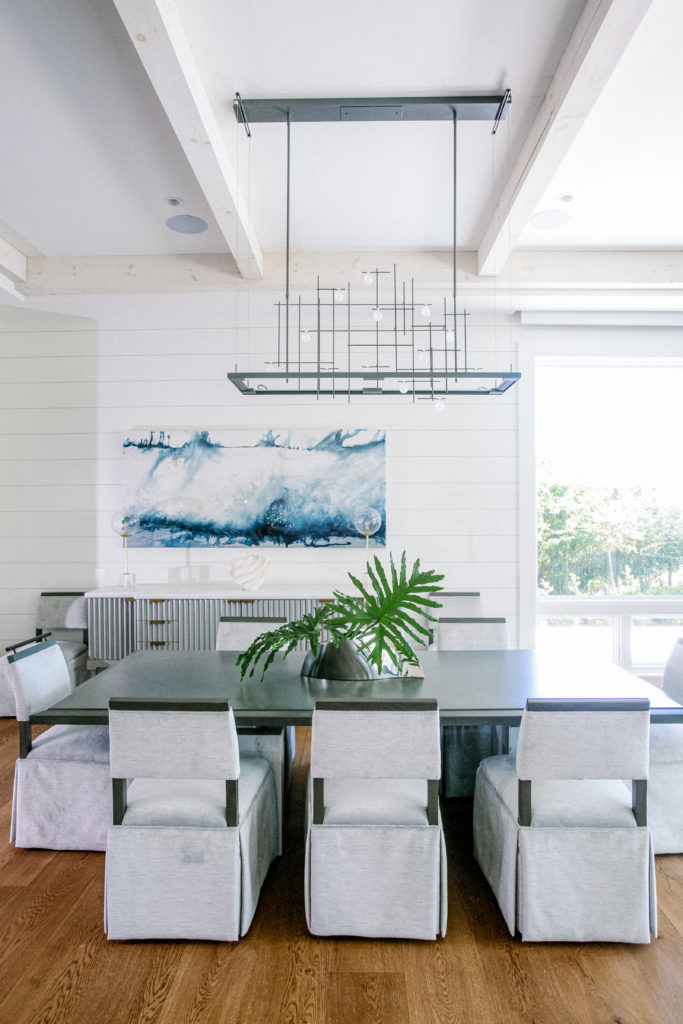
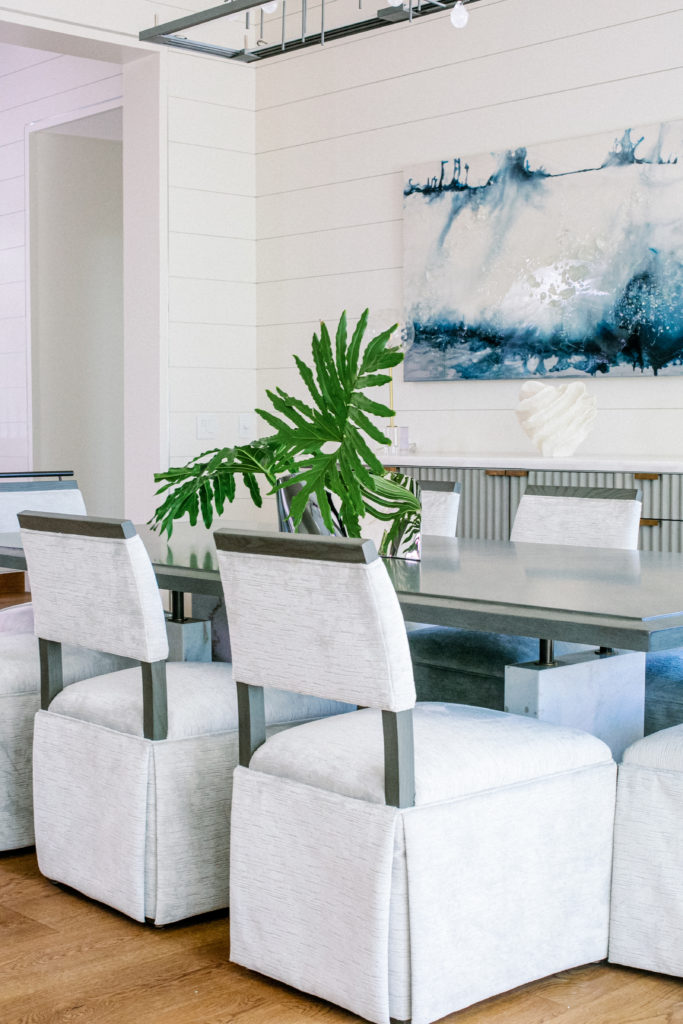
Get Those Close-Ups & Angles Right!
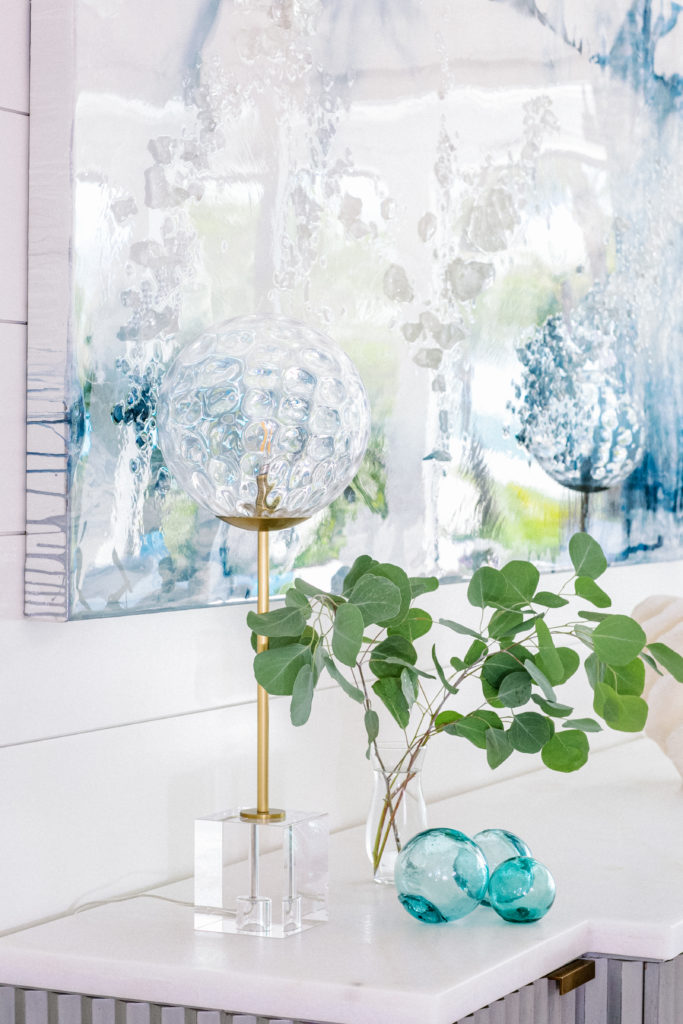
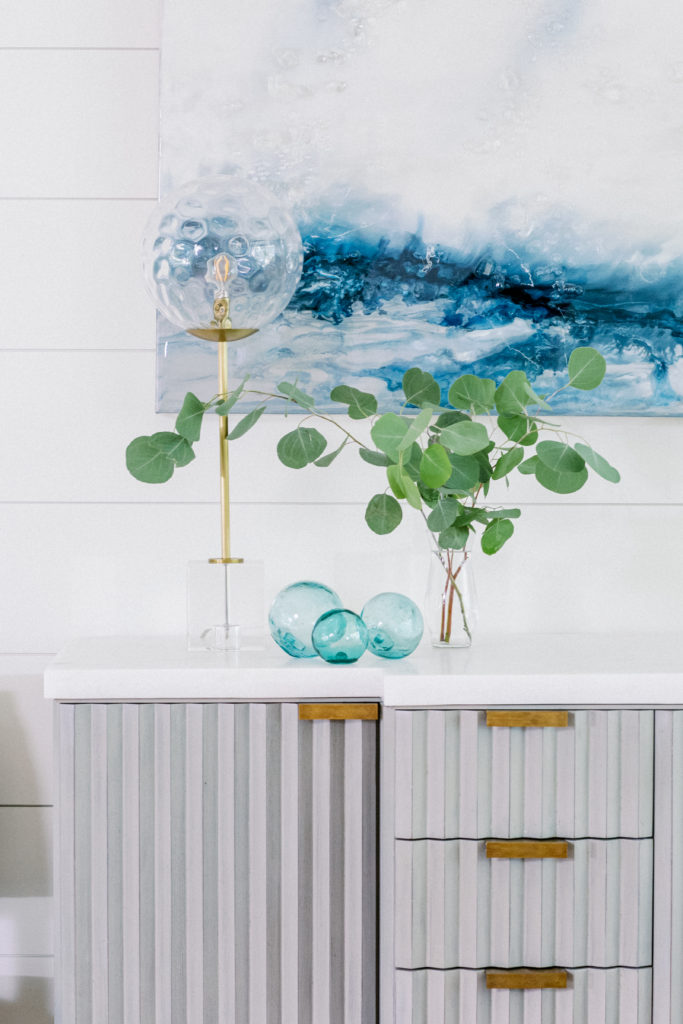
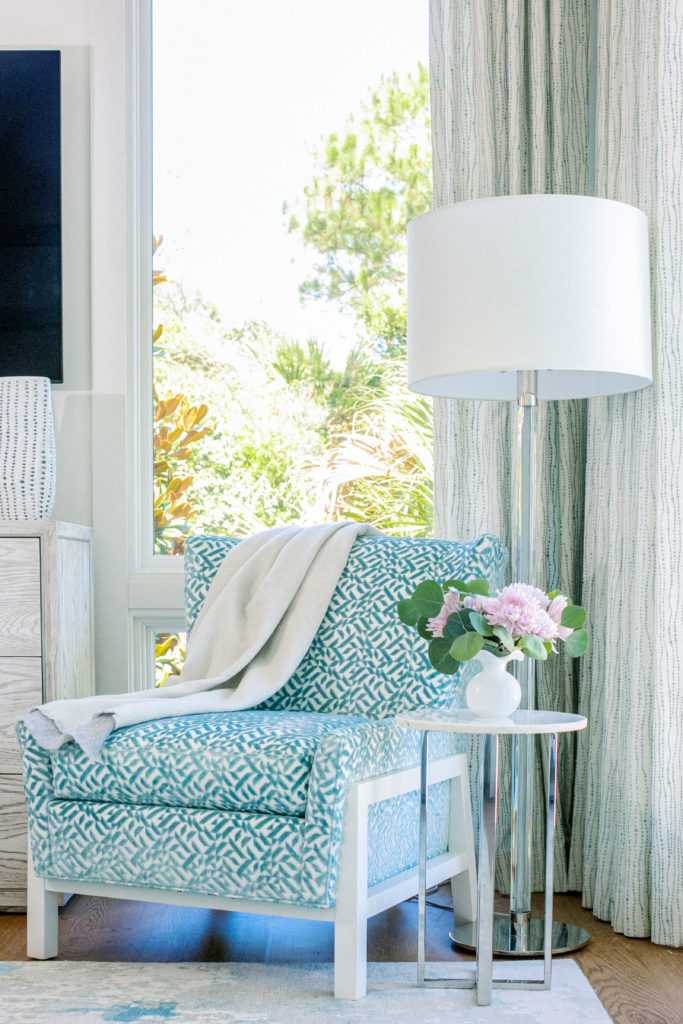
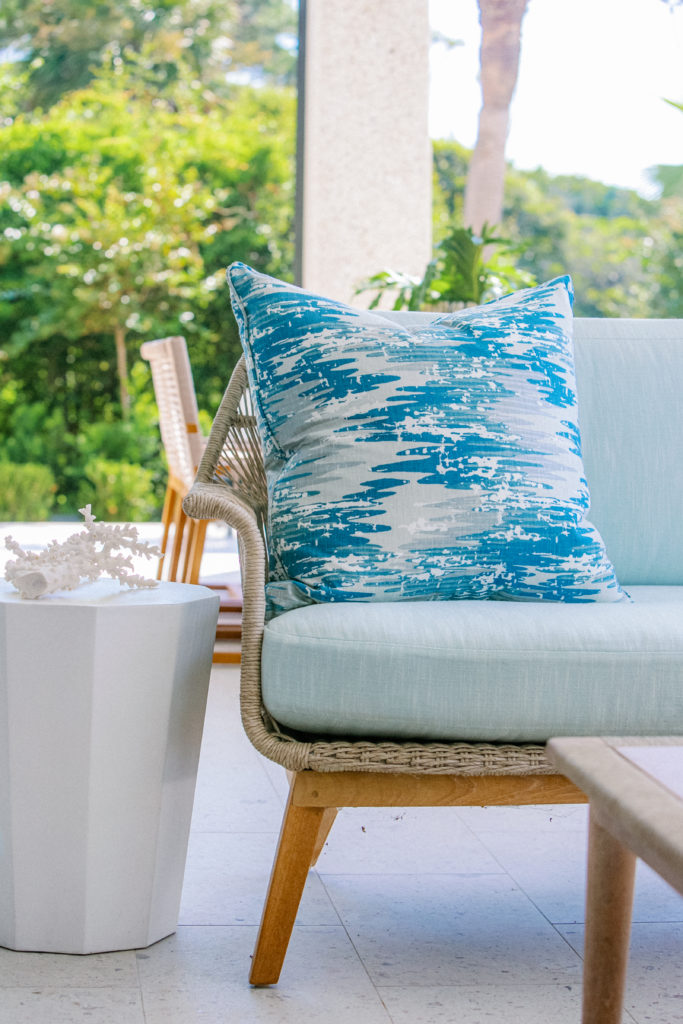
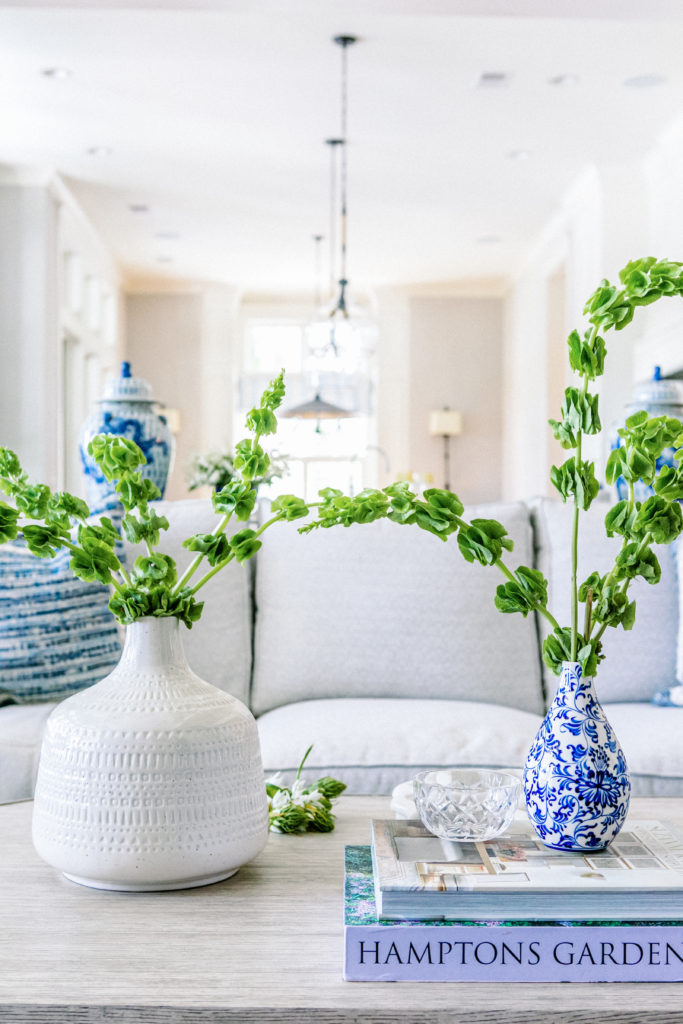
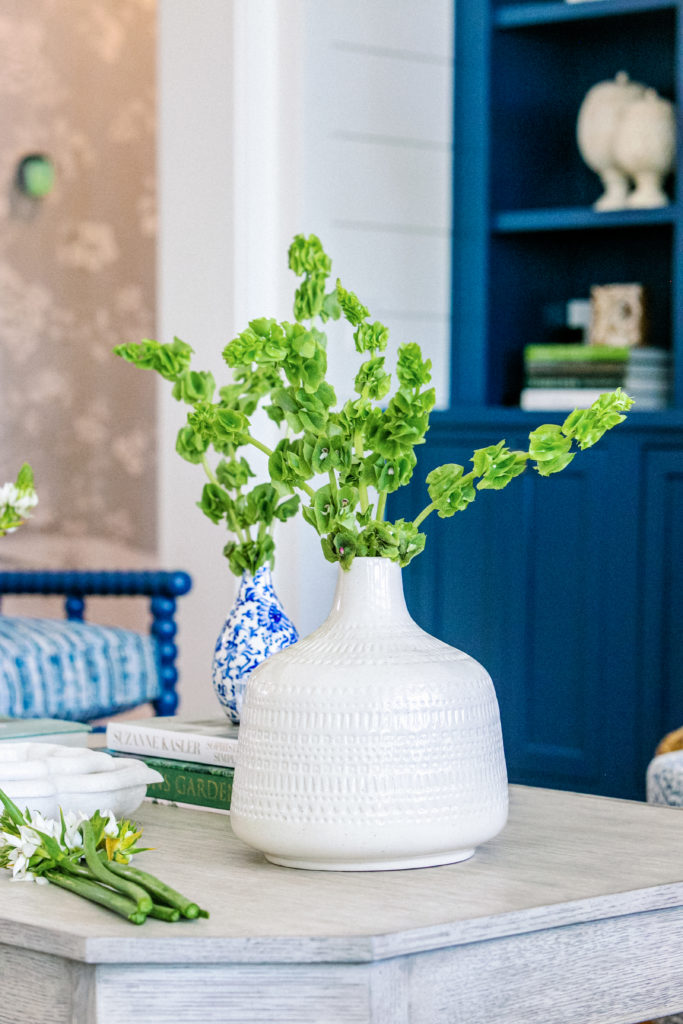
As much as you’d want catch-all shots featuring all the elements, you also want to take a handful of close-ups signposting nifty little details like the furniture or hardware. The artistic reward pays off even better when it’s rugs, pillows, upholstery fabric, and other accessories with hints of a certain cultural theme. (Hello Boho!)
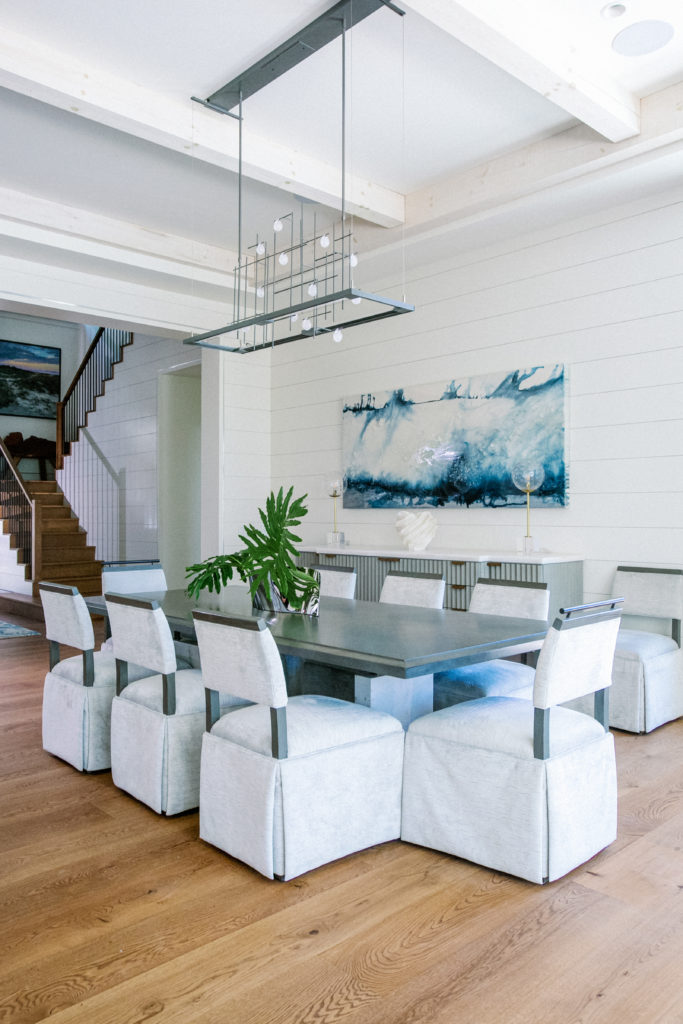
When it comes to getting the angles right, it’s a numbers game. Sometimes you think you’ve got the best one, not until you see the next one revealing nicer hues and dimensions. So you wanna take, say, 2-5 of those from varying angles to show off the room’s features even better!
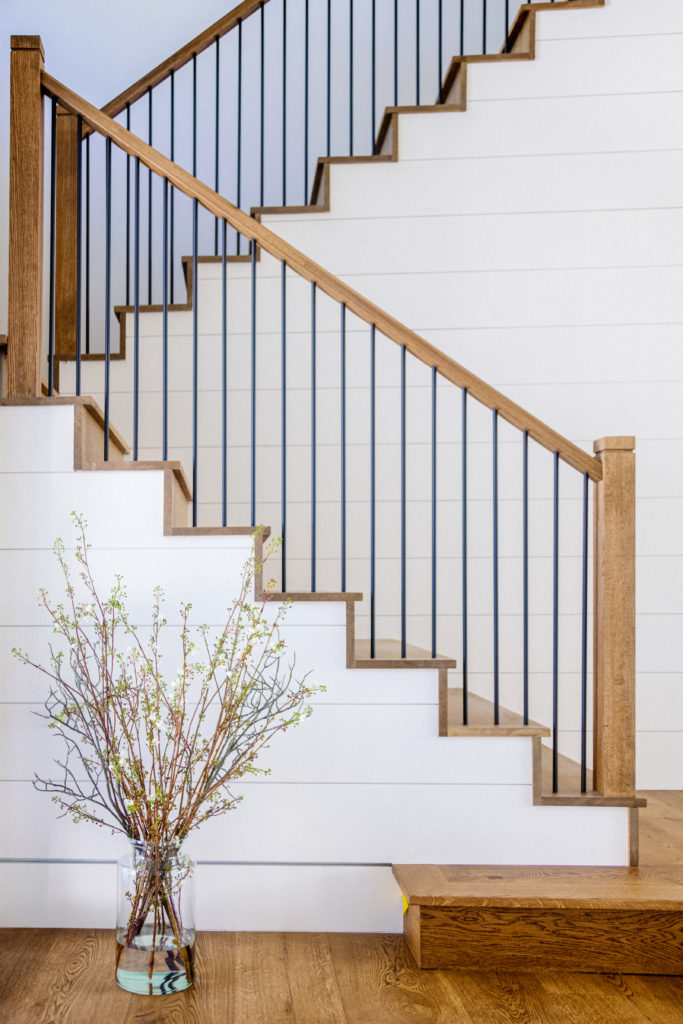
Angles give the full view of the room, but from a certain spatial perspective that complements the interior decor beautifully, in a way that’s inviting to the viewer. Also don’t forget the floor to ‘show some floor’ in your photos. Rooms without floors evoke a floaty, unsettled ambiance that you don’t want popping in the heads of viewers.
Summarily…
If you’re looking to cap off some interior decor magic with some truly breathtaking photos, these infinitely rewarding tips should have your photos intersecting the boundaries of mood, affluence, personality, and in-and-our beauty all at once. As a photographer in Hilton Head, I feel lucky to experience the glitz of interior decor first-hand thanks to pros like Kelly (Kelly Caron’s designs)
Besides soaking it all in. I’d also like for you to sink your teeth in this impeccable ‘photography MEETS interior decor’ session. Craving Inspo? Dive into this blog featuring a previous collab with Kelly, and that one rocks too!

Lisa Staff is a wedding and proposal photographer serving Hilton Head Island, Charleston, Beaufort, Savannah, and the Lowcountry. Known for an editorial, intuitive approach, she brings years of experience guiding couples through meaningful moments while creating timeless, emotionally rich imagery rooted in place and story.


comments +